Advanced Slicer Wizard
The slicer must be configured in the New Slicer wizard, after which it is added to the presentation slide.
To add a new slicer to the presentation, go to the Home ribbon and select the New Slicer button (red highlight below). A new slicer can also be added from the Interaction Manager.

Add an Advanced Slicer
Configure the slicer from the New Slicer panel.
- Click here for a more detailed review of the slicer settings.
Data Source
Choose the data source and slicer hierarchy:

Choose Model
Select the data model to connect to.
Select Hierarchy
Choose the hierarchy that will be used to build the slicer.
Elements
Choose the elements that will be included in the slicer. There are three ways to set the slicer's elements:
- Free Selection: manually select the hierarchy's member elements that should be included in the slicer.
- Level: this option is relevant when working with OLAP or Tabular hierarchies, or regular SQL hierarchies. When creating a slicer based on a regular hierarchy, select this option to specify a particular level of the given hierarchy.
- Set: choose this option use a custom list as the slicer.
Type
The Type settings let you change the slicer's title and type.
- Title: edit the slicer title.
- Type: select a slicer type from the drop-down menu.

Load Time
The load time settings determine which of the slicer's elements will be automatically loaded when the report is opened.

Initial Selection Mechanism
The initial selection mechanism determines which slice will be automatically loaded when the user opens the report.
- Saved Selection by Name: select the initial slicer selection by name; this slice will be selected by default whenever the report is opened. Select the slice from the Initial Selections window.
- Saved Selection by Position: select the initial slicer selection by position; this slicer will be selected by default whenever the report is opened. This is useful if the slicer is based on a custom calculation that shows, for example, the top 10 products. You might want to automatically load the top selling product. In this case, the slicer position needs to be saved. Select the slice from the Initial Selections window.
- First Member: automatically select the first member in the slicer whenever the report is opened.
- Last Member: automatically select the last member in the slicer whenever the report is opened.
Slicer Elements Limit
Set the maximum number of slicer elements to include in the slicer. The limit set here cannot exceed the limit set from the user settings.

Search Type
Set the search type; this will be applied to any slicer type that supports search (drop down, text box, and tree).

Other Options
From the Other Options tab, you can disable and enable the filter button, background chips, and auto run for the slicer.

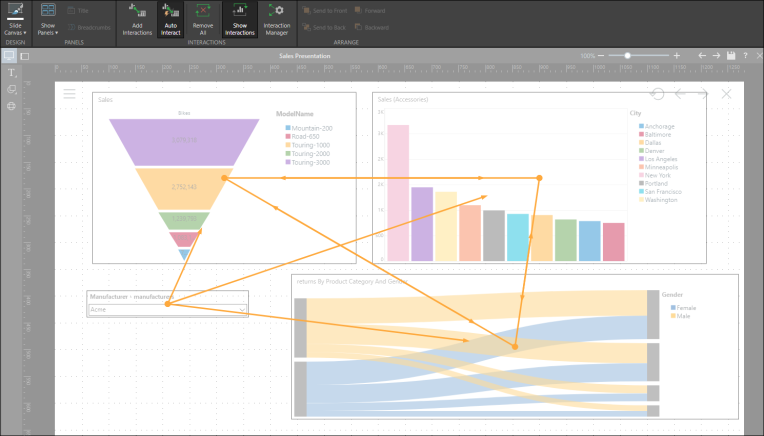
Add Interactions
From the Home or Slide ribbon, select Add Interactions or Auto Interact to add interactions between the slicer and the visuals. To add the slicer to multiple slide, you can simply copy and paste it.
- Click here to learn about interactions.